Knife Technical Testing – How It’s Done
When testing knives there are many different aspects to consider. In an attempt to produce truly unbiased information that can be used to directly compare different knives, Subwoofer (the author) introduced a variety of measurements and technical tests, in some cases pioneering previously unseen approaches to develop a knife technical testing methodology.
This level of technical testing, originated by the creator of this website, takes things far beyond manufacturer’s knife specifications, and has developed to a point it needs its own page of information to explain how it’s done.
This page will evolve over time as new tests and extra information are added.
The Blade and Handle – Detailed Measurements:
For each knife tested I carry out a detailed examination of geometry, balance, edge bevels, factory sharpness and structural edge testing using the industry leading measuring tools.
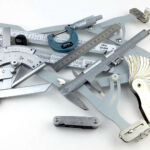
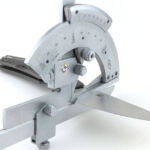
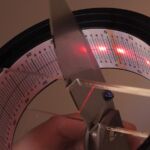
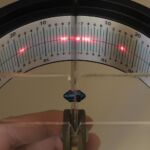
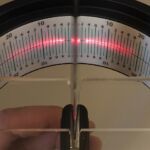
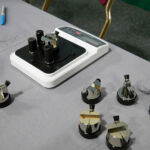
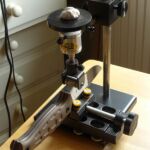
These measuring tools include a Vernier protractor, callipers, fixed radius gauges, the unique Arc Master adjustable radius gauge, Edge On Up’s BESS Certified PT50A and SET tester, along with CATRA’s Hobbigoni LASER Edge Protractor.
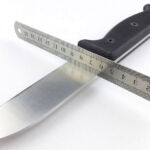
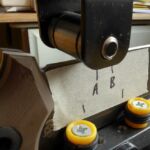
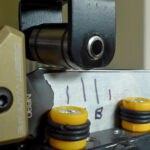
This first gallery shows some of those measurements being taken.
Advanced Geometry Measurements:
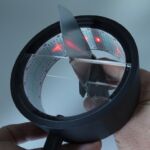
CATRA’s Hobbigoni LASER Edge Protractor allows for precise and detailed measurements of the cutting edge and primary bevel to me made.
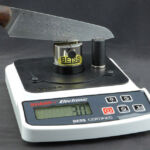
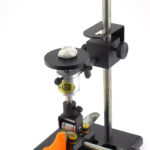
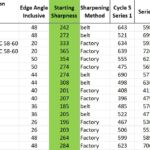
How is Sharpness measured? Using a PT50A BESS Certified sharpness tester:
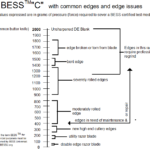
The BESS ‘C’ scale of sharpness, developed by Mike Brubacher (Brubacher Edge Sharpness Scale) is used to determine how sharp each knife edge is. The ‘Edge on Up’ PT50A tester uses a certified test media fibre and records the force required to cut it. The lower the score the better. As an example, a typical Morakniv factory edge scores around 250. This test will be used to verify the sharpness of the factory edge and allow the knife to be brought to a minimum standard sharpness before testing a blade’s cutting performance.
The Main Results Table:
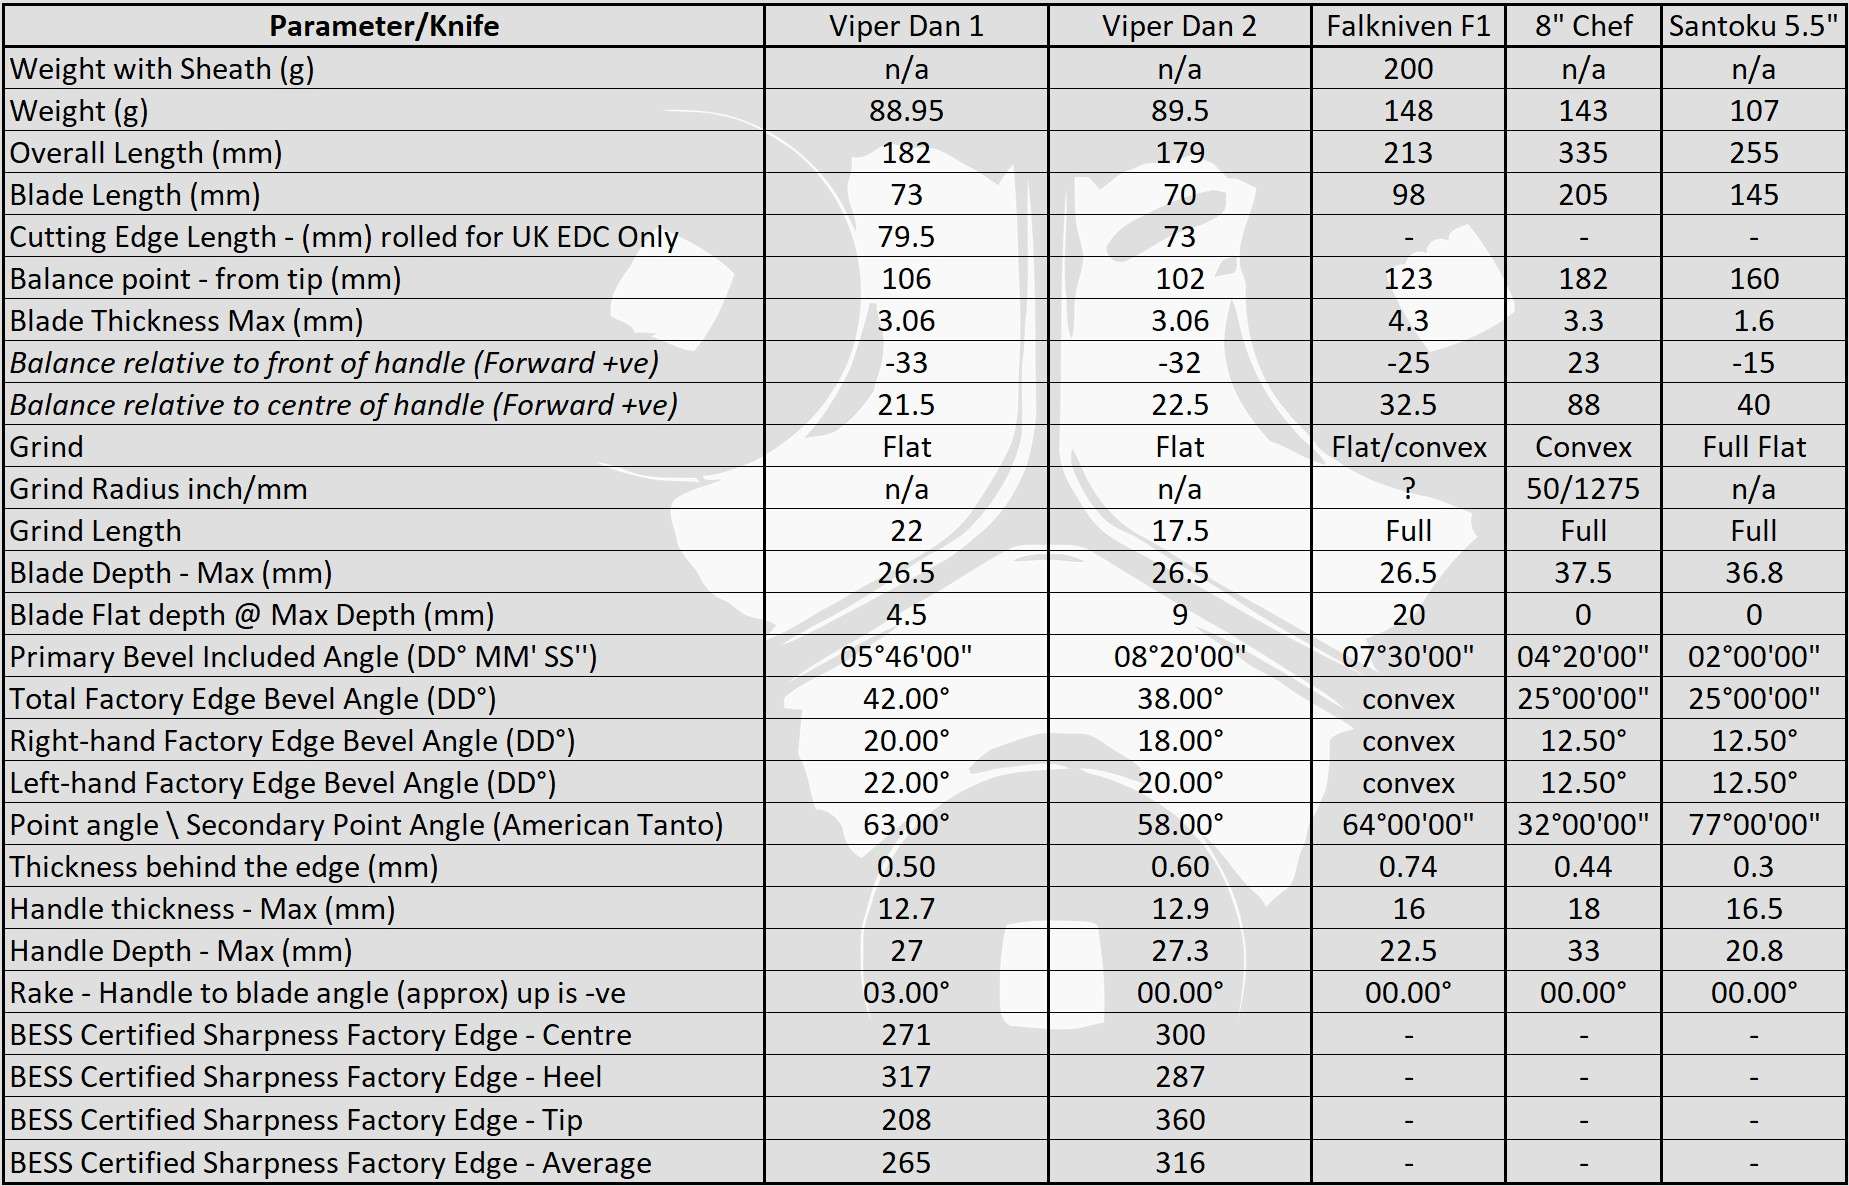
All the measurements are tabulated and are presented along with a few reference blades.
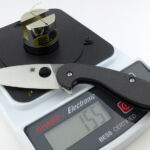
To confirm the manufacturers specifications, a number of basic measurements are taken. These include Weight with Sheath (g), Weight (g), Overall Length (mm), Grind, Blade Length (mm), Blade Thickness Max (mm), Handle thickness – Max (mm) and Handle Depth – Max (mm).
Taking a specific UK check, for UK EDC legal knives there is a check of the Cutting Edge Length – (mm). Based on experiences and practices used by police officers, this is a measurement taken by rolling the edge along a scale to include the actual edge length, not a straight line from heel to tip.
Balance is a critical factor for the feel of a knife so the Balance point is found and measured from the tip (mm). The ‘Balance relative to the front of the handle’ tells you if the knife will feel front heavy, or if the weight is in your hand (a positive value means the weight is forward of the front of the handle). The ‘Balance relative to the centre of the handle’ indicates how close to a ‘neutral balance’ the knife has in the hand.
Taking a more detailed examination of the geometry of the blade involves measurements not normally included by the manufacturer. These include Grind Radius inch/mm (for hollow ground blades), Grind Length, Blade Depth – Max (mm), Blade Flat depth @ Max Depth (mm) and Primary Bevel Included Angle (DD° MM’ SS”).
A factory edge is only a starting point, but this is examined on all test knives to check for consistency and to provide a reference point for what the factory decided was right for the knife. The measurements are; Total Factory Edge Bevel Angle (DD°), Right-hand Factory Edge Bevel Angle (DD°) and Left-hand Factory Edge Bevel Angle (DD°).
For an indication of piercing ability and eagerness, the Point angle and Secondary Point Angle (American Tanto) are included.
Whatever sharpness the blade has, and whatever edge angle is used, a critical factor in slicing ability and ease of deep cutting is the Thickness behind the edge (mm). This will tell you how much, or how little, material the blade needs to push out of the way. Thickness behind the edge will vary over time as the blade is resharpened, and will depend on the edge angle chosen (as this may widen the edge bevel). The whole geometry of the primary bevel drastically affects the thickness the further from the edge you get (or the deeper the cut), so even a blade with a very small thickness behind the edge, might be such a wedge shape as to be a very poor cutter.
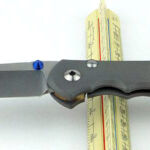
Measuring – I use vernier callipers and aim to catch the primary bevel, just next to the edge bevel, such that on some attempts I end up with the jaws sliding down the edge bevel itself as I close them. I repeat until I just catch the primary grind and measure to 0.02mm.
As with everything, the intended use of the blade should guide the choice of thickness behind the edge, as the thinner it is, the better it slices, but the weaker it is.
The last measurement is Rake – Handle to blade angle (approx) up is -ve. This tells you how the blade will present itself in your hand, and how it will behave in slicing, piercing and chopping cuts.
Structural Edge Testing:
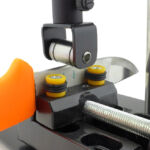
Added in 2019 are results from the Edge On Up Structural Edge Tester (SET) to measure the resistance of a knife’s edge to rolling.
The key factors for the SET results are:
Series 1 Degradation – how much damage the edge suffers from one edge rolling cycle. The damage is represented by an increase in the BESS ‘C’ score. (Averages also shown for A and B)
Series 2 Degradation – how much damage the edge suffers from one further edge rolling cycle. (Averages also shown for A and B)
Degradation after strop – has the edge been permanently damaged/chipped or can it be recovered with stropping? A negative number means it actually improved from the starting figure, suggesting there may have already been some rolling of the edge before testing. (Averages also shown for A and B)
Slip-Joint Opening and Closing Torque:
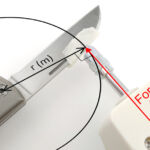
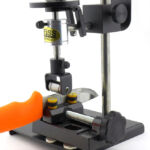
For those more familiar with fixed blades and locking knives, using a slip-joint knife safely requires familiarity with the appropriate cutting technique, ensuring you only apply pressure in a direction that keeps the blade open. Though it should never be relied upon, an important aspect of a slip-joint knife’s design is the strength of the spring, and so the blade’s resistance to closing.
As the length of the blade, and point at which force is applied to close the blade, will both vary, the measurements here will be presented as a torque value in Nm (newton-metre). This presents a universal value of turning force that can be used for direct comparison of different slip-joint designs.
In some cases, the torque required to open the blade is also measured (to see how opening and closing torque compares); this whole test was inspired by the Chris Reeve Knives ‘Impinda’ and its Bill Harsey design that needs significantly more force to close the blade than open it.
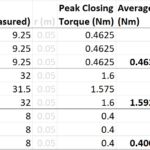
Included in the table of values are the raw measurements, and two reference knives, a typical Victorinox, and a custom slip-joint made by ‘Shing’, known for the spring strength. The review knife (in this example a Viper Dan) is then shown with the reference values.

